Switching to solar energy is an investment that provides long-term savings and a sustainable energy source for homeowners. The installation involves several steps, from the initial consultation to the final system activation. Understanding what to expect during each phase helps ensure a smooth experience and allows homeowners to plan accordingly. We will explore the steps involved in a professional solar installation, including site evaluation, permitting, system design, and the final connection to the grid. Clear expectations make the transition to solar energy more manageable and ensure the system is installed efficiently and safely.
Steps involved in a professional solar installation
Initial Consultation and Site Evaluation
The solar panel installation begins with a consultation, where a professional assesses the home’s energy needs and roof conditions. This step is crucial in determining how much solar energy the system needs to generate to meet household electricity demands. The consultant will review utility bills, evaluate sun exposure, and discuss available financing options.
A site inspection follows, where technicians assess the roof's structural integrity and identify any potential obstacles, such as shading from nearby trees or buildings. The roof's condition is essential, as older roofs may require reinforcement or repairs before panel installation. The layout and orientation of the roof affect how much sunlight the panels receive, directly impacting energy production. After evaluating these factors, the solar company provides recommendations on system size, panel placement, and installation timelines.
During the solar installation process, it's crucial to consider the specific needs of your location. For residents in Lodi, CA, understanding the local climate and energy requirements can significantly impact the efficiency and effectiveness of your solar system. A professional solar company will assess these factors, ensuring that your installation is tailored to maximize energy production and savings. This personalized approach not only enhances the performance of your solar panels but also contributes to a more sustainable and eco-friendly community. By choosing a company familiar with the unique conditions of Lodi, CA, you can ensure a seamless transition to solar energy, benefiting both your home and the environment.
System Design and Customization
Once the evaluation is complete, the solar company designs a system tailored to the home’s energy requirements. The design phase includes determining the number of panels needed, selecting the type of inverter, and finalizing the placement of electrical components. Solar companies consider factors such as roof slope, azimuth angle, and potential shading to optimize energy production.
Customization is essential to this phase, as different households have unique energy consumption patterns. Some homeowners may install battery storage to store excess energy during nighttime hours or power outages. Others may prefer a grid-tied system that allows them to send surplus electricity back to the utility company in exchange for credits. Reviewing the design with the solar company ensures homeowners understand how their system will function and what to expect in terms of performance.
Permitting and Utility Approvals
Before installation can begin, the necessary permits and approvals must be obtained. Solar installations require compliance with local building codes, zoning regulations, and utility company guidelines. The solar provider handles this process, submitting applications and coordinating with the appropriate agencies.
The permitting process can take several weeks, depending on the complexity of the project and local regulations. Utility companies may also require approval before connecting the system to the grid. Homeowners should expect a waiting period during this phase, as approvals are necessary to ensure safety and compliance with electrical standards. The installation can proceed without delay once permits and utility approvals are secured.
Scheduling and Preparing for Installation
After the necessary permits are obtained, the solar company schedules the installation. Homeowners are given a timeframe for when the installation crew will arrive and how long the process will take. Most residential solar installations are completed within one to three days, depending on the system’s size and complexity.
Before installation begins, homeowners may need to prepare their property by clearing the work area and ensuring access points are available. These modifications are typically completed beforehand if roof reinforcements or upgrades are required. The solar company provides guidelines on what to expect during installation and any preparations needed to facilitate the process.
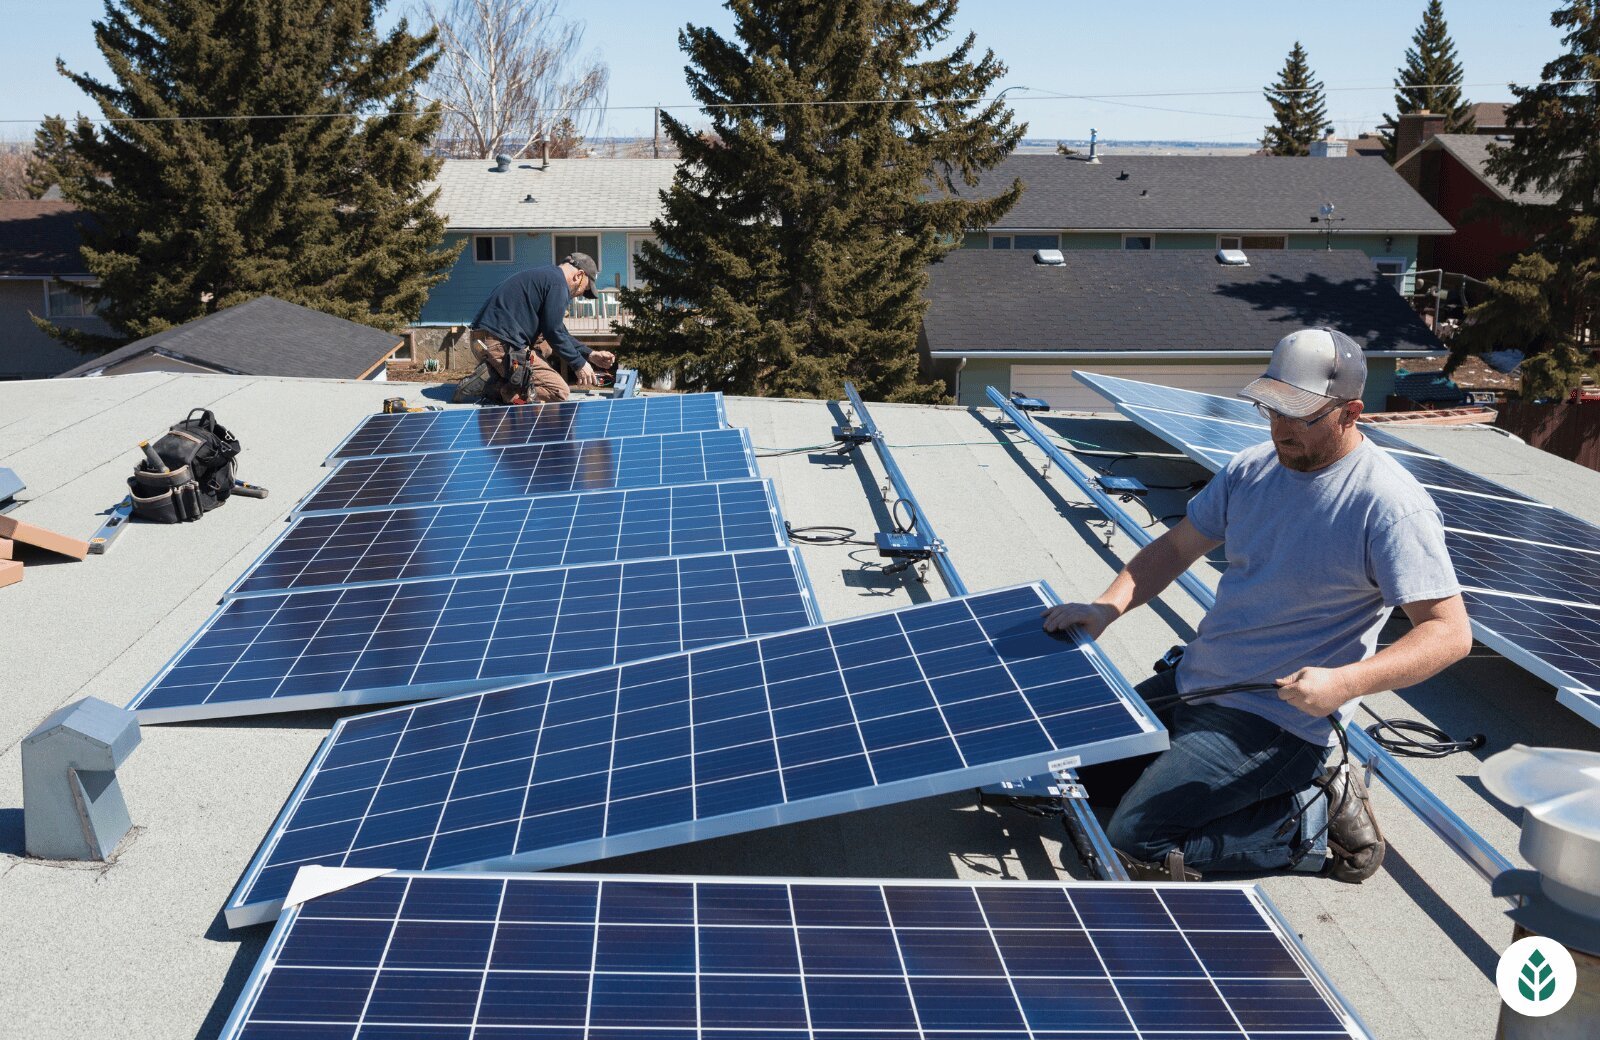
Solar Panel Installation Process
The installation begins with mounting the racking system, which serves as the foundation for the solar panels. Installers secure the racking to the roof, ensuring that it is appropriately aligned to support the weight of the panels and withstand weather conditions. The racking is fastened to the ceiling using anchors and sealants to prevent leaks and maintain structural integrity.
Once the racking is in place, the solar panels are mounted and connected to the system’s wiring. This step involves attaching electrical components, such as inverters, which convert solar energy into usable electricity. Installers carefully position the panels to maximize sun exposure and minimize shading. The electrical wiring is routed to the home’s electrical panel, allowing the system to integrate seamlessly with the household power supply.
Electrical Connection and System Testing
After the panels are installed, electricians connect the system to the home’s electrical panel. This step involves installing safety disconnects, circuit breakers, and other components to ensure the system operates safely. The inverter is activated to convert direct current (DC) from the panels into alternating current (AC) that powers household appliances.
Once the electrical connections are complete, the system undergoes thorough testing to confirm proper operation. Installers check for voltage consistency, verify that all components function correctly, and ensure that energy production meets expected levels. Any necessary adjustments are made at this stage to optimize performance and address issues before final activation.
Final Inspection and Utility Connection
Before the solar system can be fully activated, it must pass a final inspection conducted by local authorities and the utility company. Inspectors verify that the installation complies with building codes, electrical standards, and safety regulations. This step ensures that the system is installed correctly and poses no risks.
Once the system passes inspection, the utility company grants permission to operate (PTO), allowing the homeowner to begin using solar energy. This approval also enables grid-tied systems to send excess electricity back to the grid for net metering benefits. The utility connection process can take a few days to several weeks, depending on the utility company’s processing time.
System Activation and Performance Monitoring
After receiving PTO, the solar company activates the system, and homeowners can start generating solar energy. Some providers offer monitoring tools that allow users to track energy production in real-time. These monitoring systems provide insights into system performance, energy consumption, and potential efficiency improvements.
Homeowners should familiarize themselves with the system's operation, including monitoring energy output and identifying warning indicators. The solar company guides system maintenance and offers recommendations for keeping panels clean and ensuring optimal performance. Monitoring energy usage allows homeowners to maximize savings and make informed decisions about electricity consumption.
The solar installation process involves multiple steps, from initial consultation to final system activation. Homeowners can expect a structured process that includes site evaluation, system design, permitting, installation, and testing. Each stage ensures that the solar system is installed correctly and functions efficiently. Understanding what to expect helps homeowners plan accordingly and make informed decisions about their solar investment. With proper installation and ongoing maintenance, solar panels provide long-term energy savings, environmental benefits, and a reliable renewable energy source for years to come.